| |
August 1999 - Vol 1, No.
3 |
Products
and Services
LeatherLykes
for Your 1100 (#614)
By
Ron Richardson, ISRA #853
Click here to see LeatherLyke's
instructions including a diagram for installation with a sissy
bar.
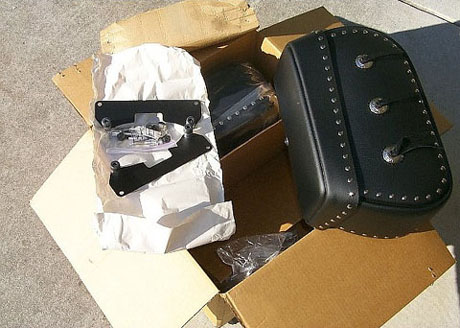
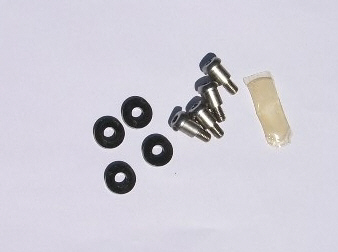
The box arrives and these are the
parts...
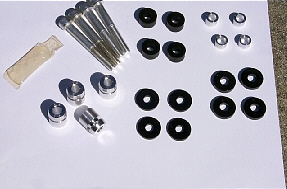
Parts Detail (see Leatherlyke's list
of parts)
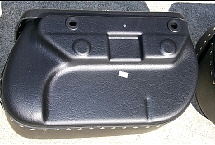
Inside view of the left bag... note
the indentation for the helmet lock.
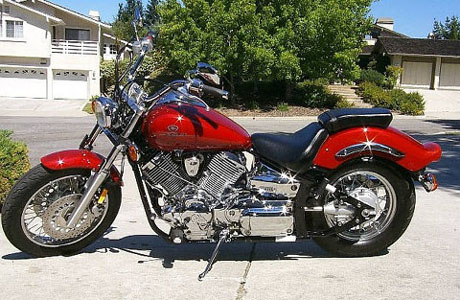
"Before"

Tools required: Phillips screwdriver,
9mm wrench, 5mm and 6mm allen.

Remove fender trim with 5mm allen
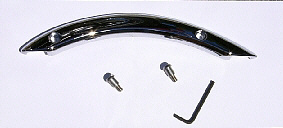
Trim removed, you won't need those
screws.
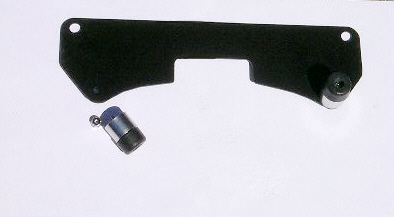
Support bracket with left rubber
bumper removed.
For the left side of the 1100 only, you need to remove this
bumper to be able to slide it under the fender and around
the helmet lock. This was not in the Leatherlyke instructions!
I think that at one time Leatherlyke must have shipped these
brackets without the bumpers installed. Again you only need
to do this on the left side due to the helmet lock.

The support bracket slides under
the fender and over the
helmet lock. It helps to pull the fender out some to line
up the holes. Now put the left bumper back on.
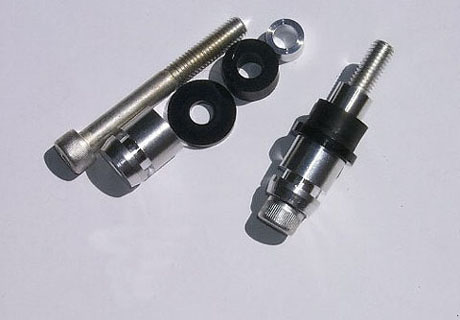
Bolts with hardware and spacers.
The instruction were not
clear as to which thin spacer to use. I used the
thinnest with no problem

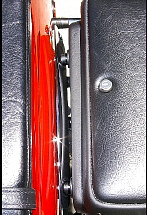
Photo shows left bumber replaced
on the support bracket
and the left bolt assy in place on the chrome trim.
Tip: Install both bolt assy's and before tightening fully pull
down on the support bracket to give max clearance
between the bumpers and the edge of the fender.
The longer bolt assy goes towards the front.
Add the supplied grease to the bolt
head and slide
the bag in place. Use the clips on the inside and
make sure that you slide the clip securely around the
mounting spool and not just around the bolt head. You may
have to push the bag in snugly to get the clip in place.

All done. Looks great!
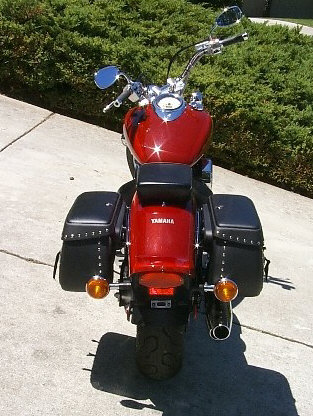
Now install the right side. Should
be easy now... Perfect!
You'll have some parts left over.
Save the screws...
you may need them someday.
That's it!
All images are the property of Ron
Richardson.
They may not be used for any commercial use without permission...
thanks!
|


